 |
| North Berwick Golf Club clubhouse |
Four golf clubs play their golf over the North Berwick West Links, but it is North Berwick Golf Club that manages the course and serves as the major club in the area. I have been treated incredibly well every time that I have visited North Berwick Golf Club. A sign outside of the clubhouse reads, "Your green fee ticket entitles you to temporary membership of the North Berwick Golf Club where you will be made welcome by the members." The membership and staff take on this creed wholeheartedly, making guests feel genuinely welcomed and at ease.
 |
| The famous painting "Golf At North Berwick" by Sir Francis Grant |


 |
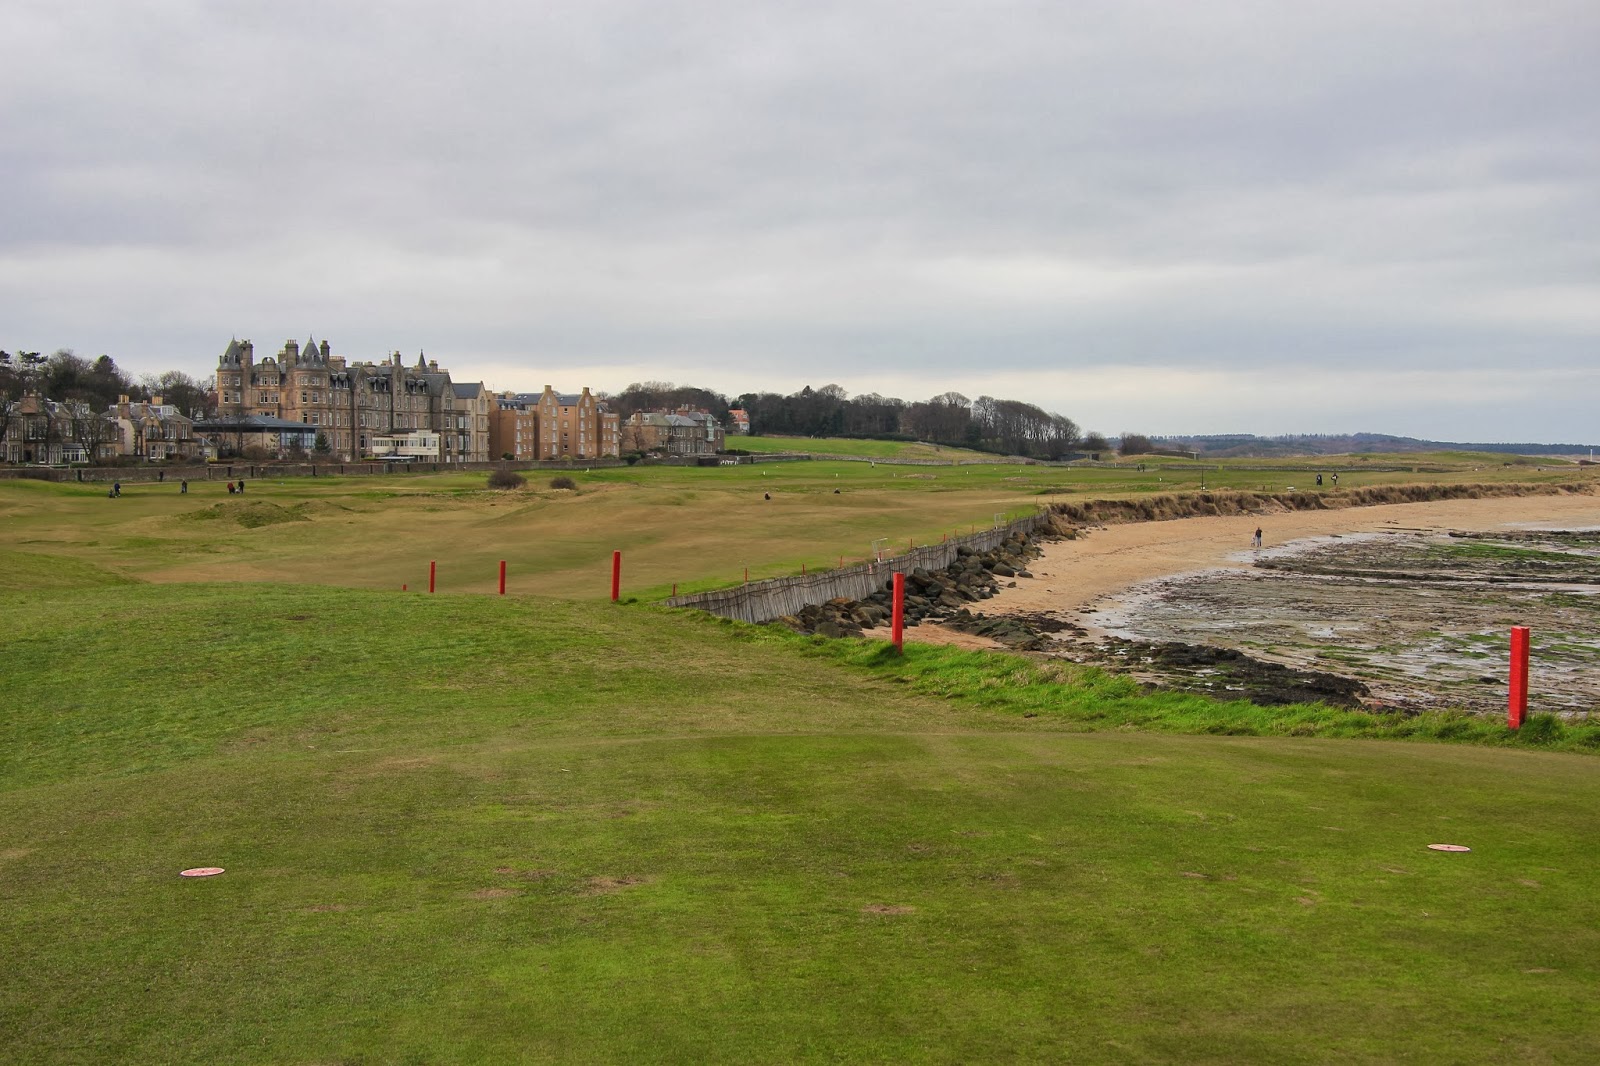
| Picture taken from the back of the raised first green |
The start to the round immediately alerts golfers to the quirky and unique course that lies ahead. The blind green is marked by the white pole in the distance, and a long iron off the tee sets up an approach from the area of the exposed rock on the left. The beach runs down the right side of the hole and is in play as a large hazard. The green, also seen above, is deceptively large and offers an excellent view of the beach and the Bass Rock in the distance.
Hole #3 - 460 yards - "Trap"

Hole #4 - 168 yards - "Carlekemp"


Hole #6 - 139 yards - "Quarry"

Hole #7 - 344 yards - "Eil Burn"
Hole #9 - 502 yards - "Mizzentop"

Hole #10 - 153 yards - "Eastward Ho"

The downhill approach shot to this well bunkered green leaves golfers particularly exposed to the wind. This is another great par 3 green complex at North Berwick. Although it was not initially apparent to any of the golfers in our group, the putting surface slopes from right to left. This heavy slope, disguised partly due to the raised green and bunkers, caused misreads and three putts in our group.
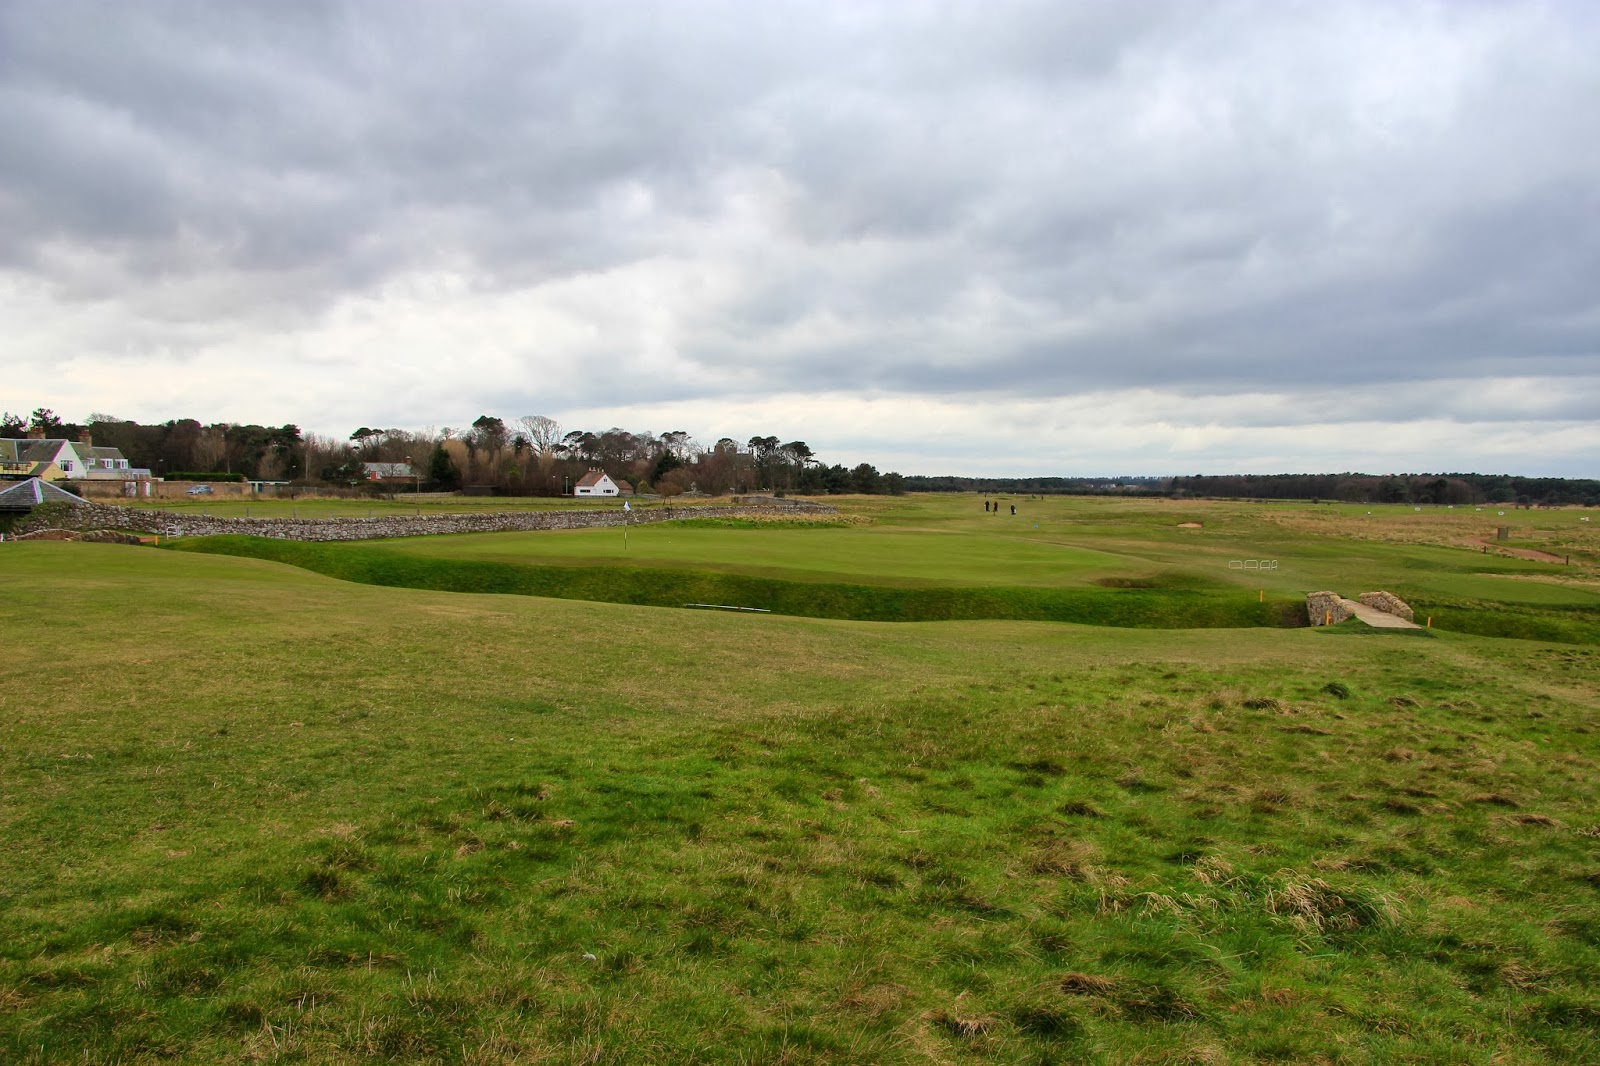
Hole #13 - 362 yards - "Pit"
 |
| Looking forward while approaching the green |
 |
| Looking backwards from the green towards the tee |
Hole #14 - 358 yards - "Perfection"


The 14th is said to have been named "Perfection" because it required two perfect shots to hit the green. With modern club and ball technology, the hole has become quite short, but two good shots are still required to hit this green. Bunkers stand in the fairway about 225 yards from tee, and a 135 yard approach is left in from that point. After hitting your approach shot at the white marker post, an amazing view is found at the top of the hill looking down at the green and the Firth of Forth beyond. In firm and fast conditions, a running ball landing short of the green is the best play.


The Redan hole is the last par 3 on the course. The hole is famously the most replicated hole in golf course architecture. A large number of the top 100 golf courses in the world feature a Redan hole, but the original stands alone. The Redan hole features a green that slopes from right to left and away from the player. Landing a shot on this raised right hand side will propel a ball down and left towards the heart of the green. Bunkers can be found short of the green and off the lefthand side of the green. There are many ways to play the Redan hole, depending on the pin position, which is one reason that it is such a great design. Once you begin to look for Redan layouts, you begin to see them on many of the great courses of the world.

Hole #17 - 405 yards - "Point Garry (in)"


 |
| Berwick Law, an ancient volcanic plug, dominates the skyline. |
 |
| You're covered if you take out a windshield with a drive on the 18th |
 |
| The recognizable Bass Rock off the coast at North Berwick |


